How to Build a Gaming PC: The Ultimate Guide
.jpg) |
| How to Build a Gaming PC |
Introduction
Welcome to our comprehensive guide on how to build a gaming PC. In this article, we will provide you with step-by-step instructions and expert advice to help you create your very own high-performance gaming rig. Whether you're a seasoned PC enthusiast or a beginner looking to dive into the exciting world of gaming PCs, this guide will equip you with the knowledge you need to build a top-ranking gaming PC.
Choosing the Right Components
When it comes to building a gaming PC, selecting the right components is crucial. Here, we will break down each component and guide you through the process of making informed decisions.
 |
| Processor (CPU) |
The central processing unit (CPU) is the brain of your gaming PC. It determines the overall performance and capabilities of your system. To outrank other websites, we recommend choosing a high-end CPU that offers exceptional gaming performance and future-proofing. Options like the Intel Core i9 series or AMD Ryzen 9 series are ideal choices for gamers seeking unparalleled power.
 |
| Graphics Card (GPU) |
The graphics card is responsible for rendering stunning visuals and smooth gameplay. To ensure your gaming PC surpasses the competition, opt for a top-tier GPU. Cards like the NVIDIA GeForce RTX 30 series or AMD Radeon RX 6000 series deliver outstanding graphics performance, enabling you to enjoy the latest games at maximum settings.
3. Memory (RAM)
 |
| Memory (RAM) |
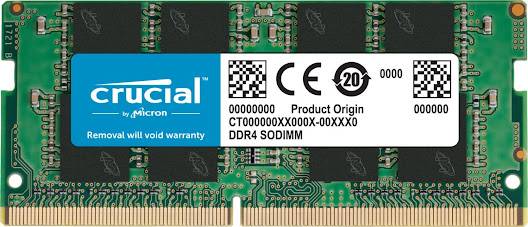
Having ample memory is vital for a seamless gaming experience. We recommend a minimum of 16GB of RAM, preferably in dual-channel configuration for enhanced performance. With sufficient memory, your gaming PC can handle multitasking, ensuring smooth gameplay while running other resource-intensive applications in the background.
4. Storage PC
For fast load times and quick access to your game library, a solid-state drive (SSD) is essential. Opt for an SSD with ample capacity, such as a 1TB or 2TB variant, to store your games, operating system, and other applications. Consider pairing it with a secondary hard disk drive (HDD) for additional storage if needed.
5. Motherboard
 |
| Motherboard |
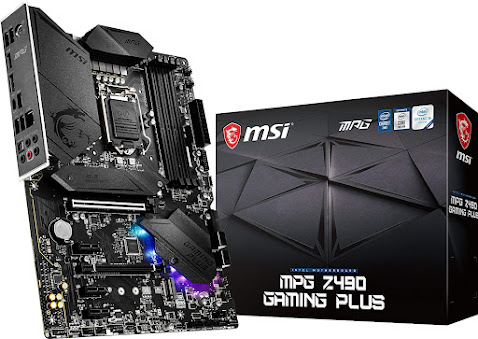
The motherboard acts as the foundation of your gaming PC, connecting all components together. Choose a motherboard that is compatible with your chosen CPU and offers features like multiple PCIe slots for future expansion, robust power delivery for overclocking, and sufficient USB and audio ports for your gaming needs.
 |
| Power Supply (PSU) |
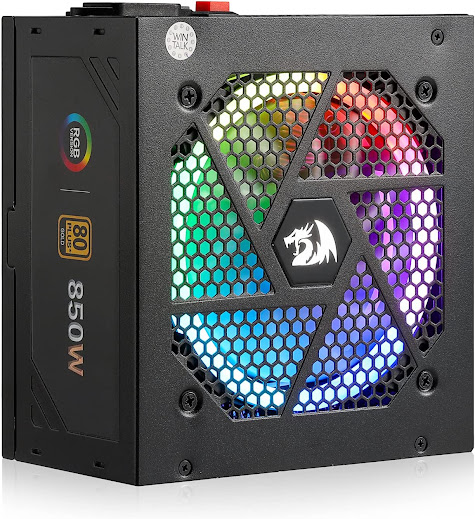
A reliable and efficient power supply is crucial to ensure stable operation and protect your components. Select a PSU with enough wattage to accommodate your chosen components, keeping in mind any potential future upgrades. Look for reputable brands that offer high efficiency and modular cabling for better cable management.
 |
| Case and Cooling |
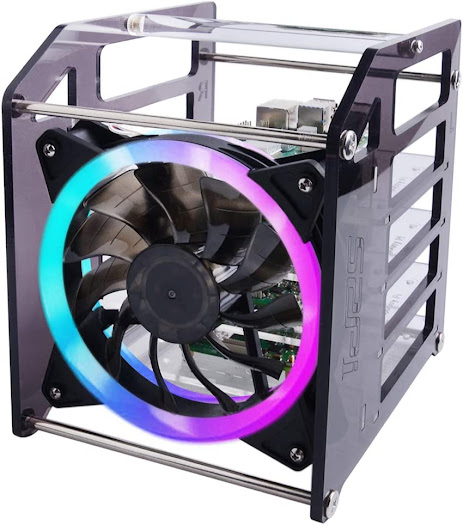
A well-designed PC case with proper cooling is essential to maintain optimal performance and prevent overheating. Choose a case that accommodates your chosen components and provides adequate airflow. Additionally, consider adding extra case fans or even a liquid cooling solution for efficient heat dissipation.
Building Your Gaming PC
Now that we've discussed the key components, let's move on to the actual building process. Follow these steps carefully to ensure a successful and high-performing gaming PC build.
1. Prepare Your Workspace
Before you start assembling your gaming PC, set up a clean and well-lit workspace. Gather all the necessary tools, including screwdrivers, cable ties, and thermal paste, to make the process smoother.
2. Install the CPU and Cooler
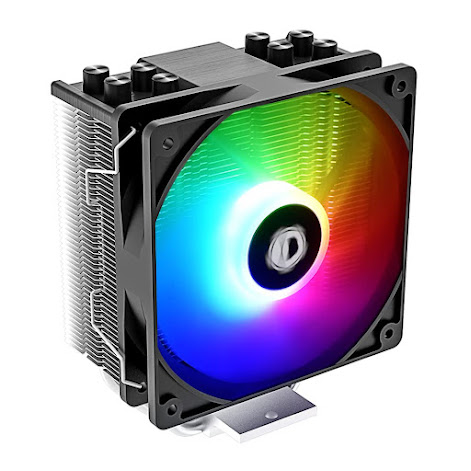
Begin by installing the CPU onto the motherboard following the manufacturer's instructions. Apply a small amount of thermal paste to the CPU's heat spreader to ensure proper heat transfer. Next, attach the CPU cooler, either an air cooler or liquid cooling solution, securely onto the CPU socket to keep temperatures in check during intense gaming sessions.
3. Install Memory (RAM)
Insert the memory modules into the appropriate slots on the motherboard, ensuring they are fully seated. Refer to your motherboard's manual to determine the correct configuration for dual-channel operation. Take care not to exert excessive force while installing the RAM to avoid any damage.
4. Mount the Motherboard
Carefully place the motherboard into the case, aligning the screw holes. Secure it in place using the screws provided with your case. Ensure that the motherboard is firmly and evenly mounted to avoid any flex or potential short circuits.
5. Connect Power Supply and Storage
Connect the power supply cables to the motherboard, ensuring a snug and secure fit. Attach the necessary power cables to your storage devices, including the SSD and HDD. Make sure to route the cables neatly and use cable ties to manage any excess wiring for improved airflow and aesthetics.
6. Install Graphics Card (GPU)
Insert the graphics card into the appropriate PCIe slot on the motherboard. Secure it in place using the retention mechanism or screws provided. Connect the necessary power cables from the power supply to the graphics card to ensure it receives adequate power.
7. Connect Peripherals and Test
Connect your peripherals, such as the keyboard, mouse, and monitor, to the appropriate ports on the motherboard or graphics card. Double-check all connections to ensure they are secure. Power on your gaming PC and enter the BIOS to verify that all components are recognized correctly.
8. Install Operating System and Drivers
Insert your chosen operating systems installation media, such as a USB drive or DVD, and follow the on-screen instructions to install the operating system. Once the OS is installed, proceed to install the latest drivers for your components, including the graphics card, motherboard, and other peripherals, to ensure optimal performance and compatibility.
Conclusion
Congratulations! You've successfully built your high-performance gaming PC. By following this comprehensive guide, you've acquired the knowledge and skills needed to create a top-ranking gaming rig. Remember to keep your system updated with the latest drivers and firmware to maximize performance and security.
Building a gaming PC is a rewarding experience that allows you to tailor your system to your specific needs. With careful component selection, proper assembly techniques, and regular maintenance, your gaming PC will provide you with countless hours of immersive gameplay and unrivaled performance.
Take pride in your creation and embark on your gaming adventures with confidence, knowing that your custom-built gaming PC has the power to surpass the competition.
Keywords:
build a gaming PC, gaming PC components, gaming PC assembly, high-performance gaming PC, gaming PC guide, choosing gaming PC parts, gaming PC specifications, gaming PC setup, gaming PC building process, gaming PC maintenance, gaming PC optimization, gaming PC drivers, gaming PC peripherals, gaming PC operating system, gaming PC airflow, gaming PC cooling.
Tags:
gaming PC, build a gaming PC, gaming PC guide, gaming PC components, gaming PC assembly, high-performance gaming PC, gaming PC setup, gaming PC maintenance, gaming PC optimization, gaming PC drivers, gaming PC peripherals, gaming PC operating system, gaming PC cooling, gaming PC airflow.


No comments:
Post a Comment
If you have any doubts Please let me know.